Alright everyone, hope you are al good, Ok I thought I would share my next project which is a lit Poster frame with LEDs, I have see/watched may videos of people making/trying to make these boxes/frames, but to be honest nothing really caught my eye, either to big bulky or not really practical or easy to make, the only other option is buy one already done, but we know these are not cheap, the only real option is the snap frames, with edge LED which are pretty good, but again not the cheapest option. With me I have seen many designs be it Steelbook frames LED Lighting Installs man caves etc etc, and I have pretty much only thought how nice it would be to be able to make, [or have ago anyway] something which has inspired me to have a go, I made some steelbook frames which came out Ok, well pleased in fact, took a while and much time thinking and coming up with a frame that would fit in a home environment, lets be honest most women and even men would frown at the thought of having a large wooden frame with steelbooks hanging on the wall in the lounge or anywhere else in the house for that matter, so if like me you are a lucky fellow my good lady loves everything film/Blu-ray and even Steelbooks, she is very good really does not complain or moan, in fact she has some input on the design or look of certain things, so yes I am a lucky chap. So my next project is making some movie poster boxes/frames, I made one a few years ago it looked very cool and was pretty pleased, but it was to bulky and by the time I had finished, it was a blot on the wall, I used tubes then, as LEDs were still expensive and not really available like they are now.
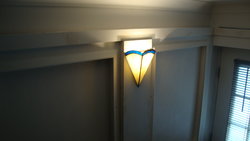
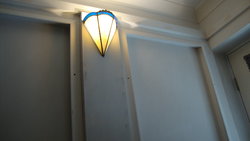
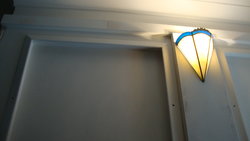
Before we go any further, I am not to good at this uploading images and making it look all fancy, so sorry in advance if the images are miles away down the page.
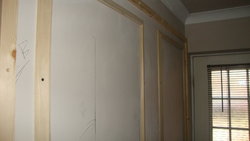
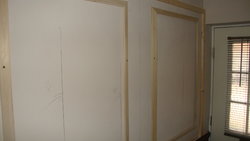
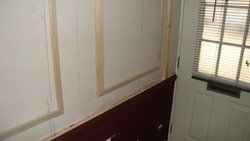
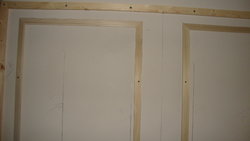
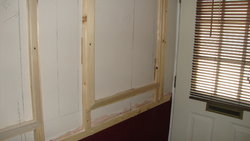
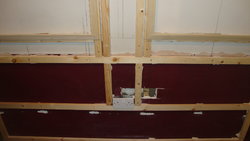
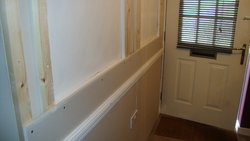
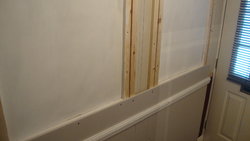
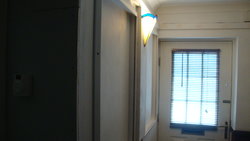
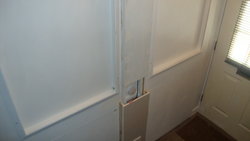
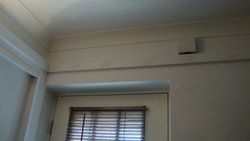
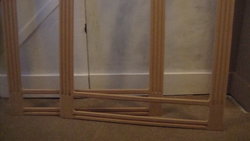
Anyway as you can see nothing really exciting to look at really, the wall was truly duff it ran out and bowed over an inch, and looked appalling, so re-battening and plaster boarding will rectify that problem.
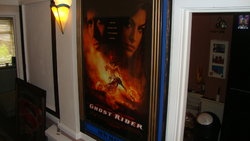
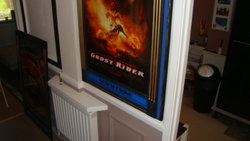
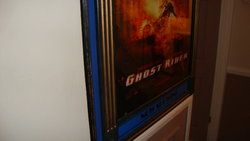
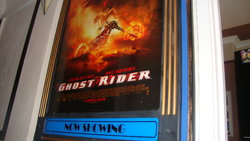
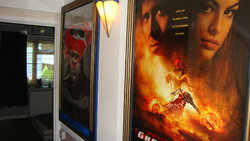
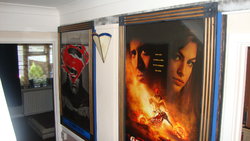
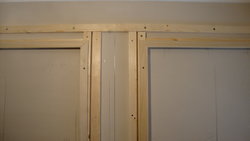
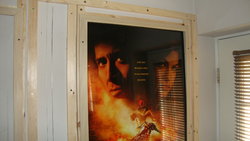
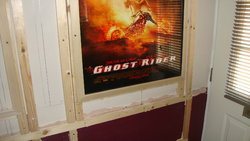
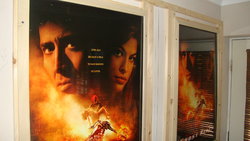
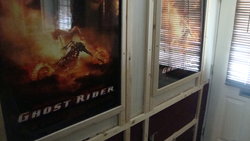
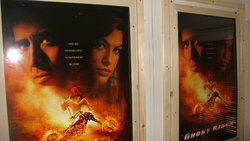
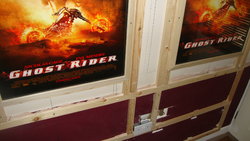
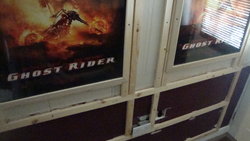
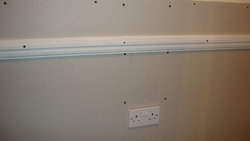
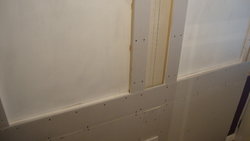
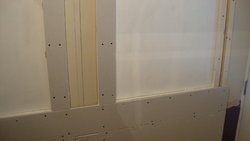
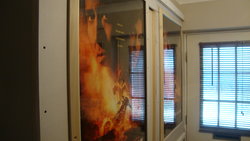
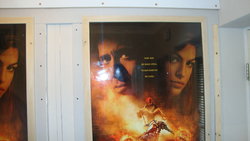
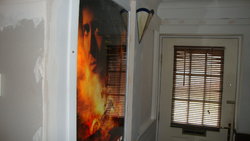
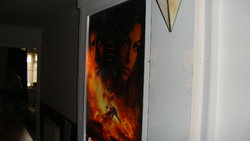
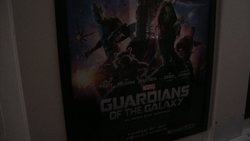
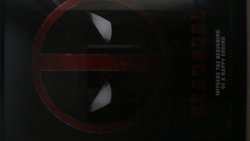
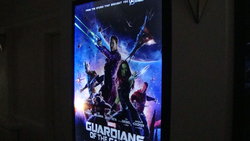
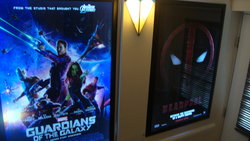
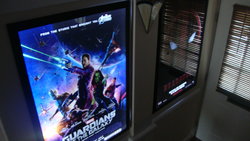
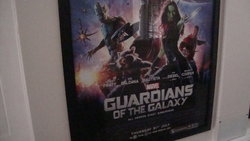
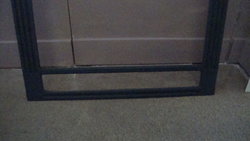
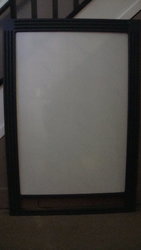
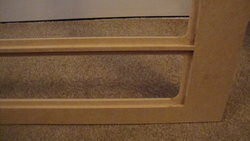
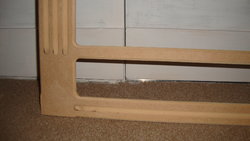
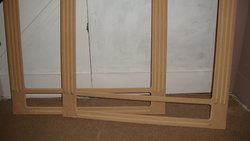
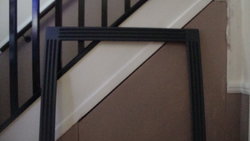
So after much thought I decided to not go with boxes as in a light box fixed to a wall, what I decided to do is re-batten the wall and make the openings that will house the electrics/LEDs open, so as you can see, basically it looks like 2 picture frames these openings are exactly the same size as a one sheet poster 27x40 [ portrait ] style, I then had 2 frames made, basically picture frames, these were routed/rebated again the same size as the poster, with a 10mm recess all round to hold the poster Acrylic/Perspex in place, this will make sense as we go. As you can see the frames have been placed on top of the stud work, this is to allow marking and measuring, the aim is to make sure the actual rebate of the frame marries up with the size on the wall/stud work.
Before we go any further, I am not to good at this uploading images and making it look all fancy, so sorry in advance if the images are miles away down the page.
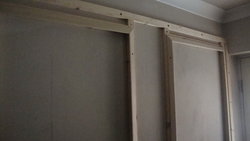
Anyway as you can see nothing really exciting to look at really, the wall was truly duff it ran out and bowed over an inch, and looked appalling, so re-battening and plaster boarding will rectify that problem.
So after much thought I decided to not go with boxes as in a light box fixed to a wall, what I decided to do is re-batten the wall and make the openings that will house the electrics/LEDs open, so as you can see, basically it looks like 2 picture frames these openings are exactly the same size as a one sheet poster 27x40 [ portrait ] style, I then had 2 frames made, basically picture frames, these were routed/rebated again the same size as the poster, with a 10mm recess all round to hold the poster Acrylic/Perspex in place, this will make sense as we go. As you can see the frames have been placed on top of the stud work, this is to allow marking and measuring, the aim is to make sure the actual rebate of the frame marries up with the size on the wall/stud work.


")