The Official SteelBook Custom Glossing thread!

howiesteed

sex panther ltd .CEO
Premium Supporter
Dec 30, 2013
2,234
burton on trent
Here us a slight guide to the way I glossed mine ok here's what I used

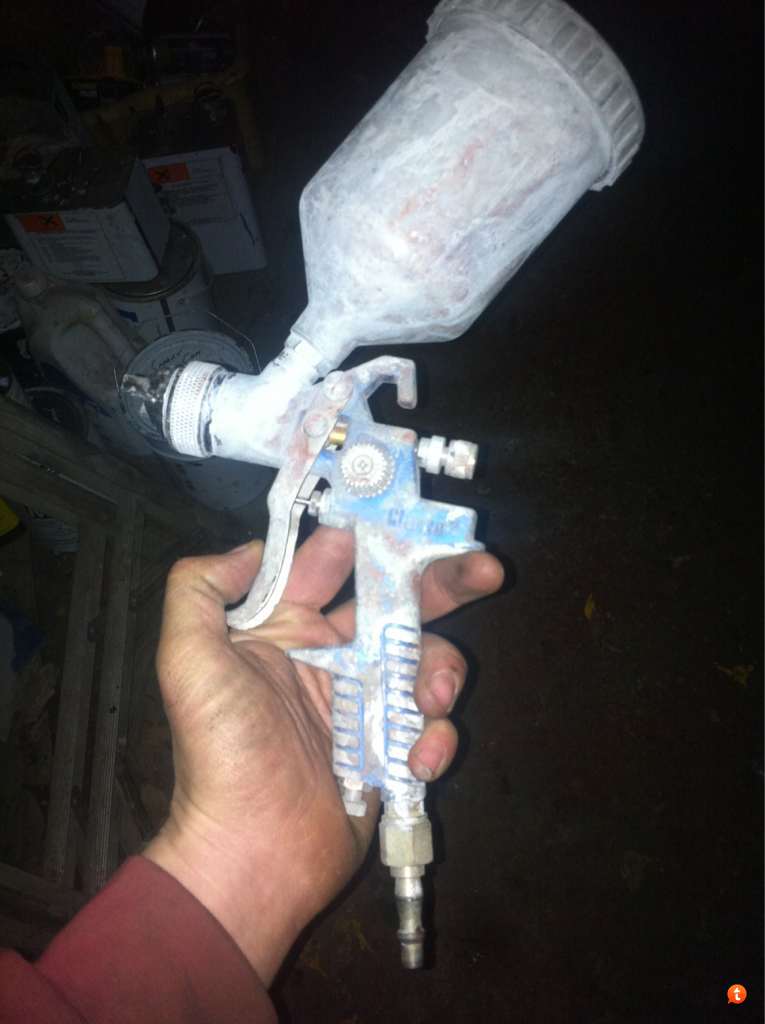
A gravity fed spray gun
yvavu2y8.jpg


Then I used some accelerator and clear coat which I use when I spray cars also added is a slight but if thinners I think it's 2 to 1
apy7e8ar.jpg


The steels are wiped over with cleaners I get rid of grime and oil that fingers can lea e and any oils
desuse2y.jpg


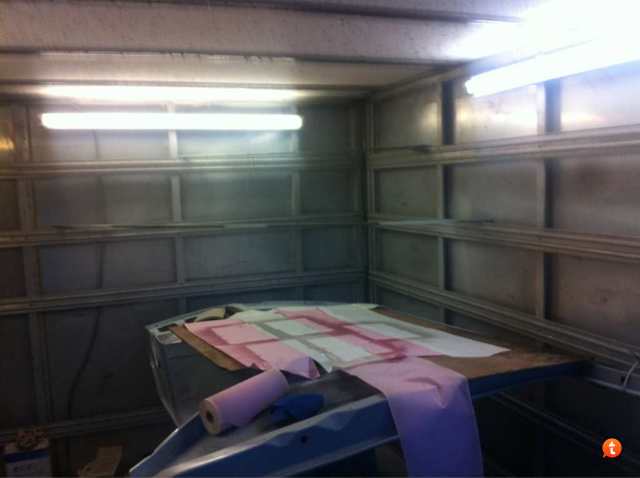
Then I spray it in a booth which is heated and has ventilation AND IS HEATED KNOWN AS AN OVEN
Basically it what I use to spray car bits
apuhypa3.jpg


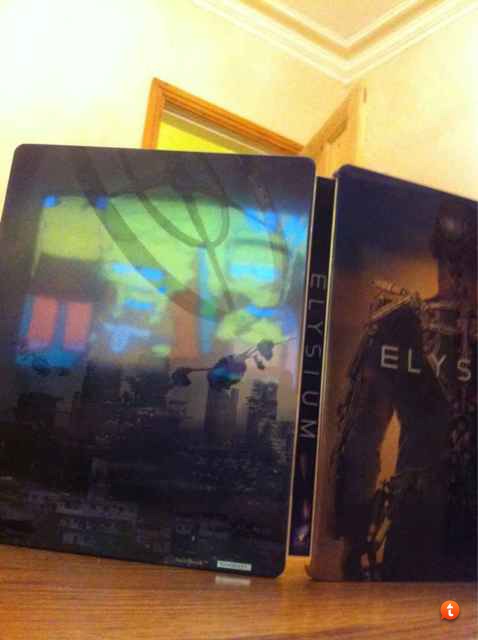
Then spray and leave them to harden at least a day and this will be hard enough to polish to

ysu6egez.jpg


OH I FORGOTTO ADD A PICTURE OF THE HARDENER AND THE FACT I GET ALL KITTED UP LIKE WALTER WHITE FROM BREAKING BAD ....

WELL A BREATHING MASK AND OVERALLS AS THIS STUFF ISNT GOOD FOR BREATHING IN A CONFINED SPACE

Edited for trading
8ebyge6a.jpg


ra8ane2e.jpg


attachment.php


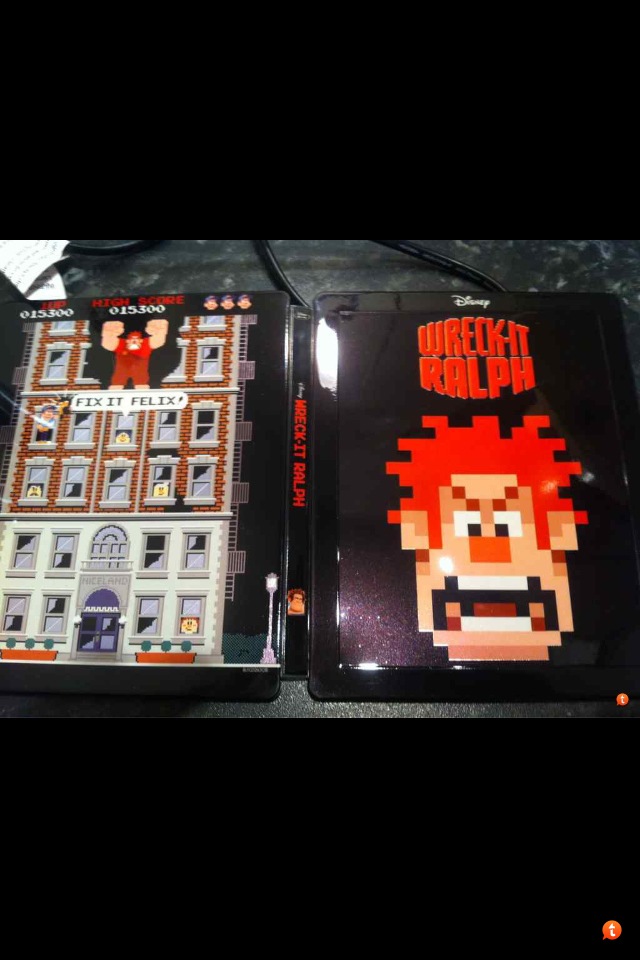
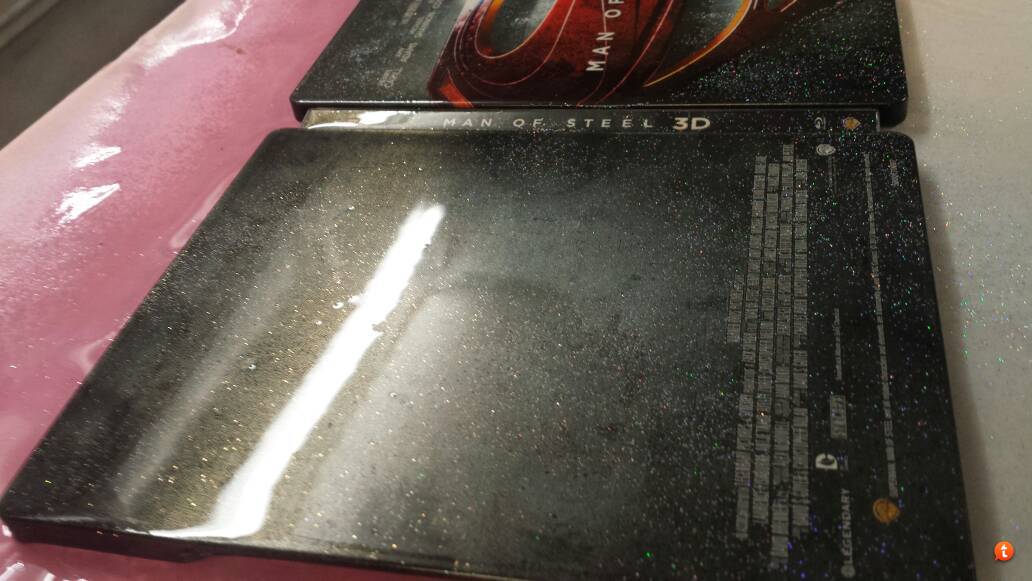
and can do sparkly too
ty7apuve.jpg
 
Last edited by a moderator:
Daredevil UK with custom spot gloss on title and comic strip.

IMG_8993_zps3f152bad.jpg


IMG_8978_zps3739d885.jpg


This is a damaged steel I got from wjasoncul on the blu forums to experiment with. That's why only "DAR" OF "DAREDEVIL" is glossed, I wanted multiple attempts at glossing the embossed part of a steel. This Steelbook was done with the Duplicolor lacquer. I think the results are better than the rustolium stuff I used before. I can get better coverage with a thinner coat. More pics:

IMG_8992_zpsbc711754.jpg


IMG_8981_zps5b09a899.jpg


IMG_8991_zpsdc65733b.jpg


IMG_8987_zps873eb047.jpg


IMG_8976_zpsc0e4a4d9.jpg
 
  • Like
Reactions: dirtyoak and ocielz
It's been awhile since I've posted here as I haven't had much free time lately with hosting a few GB's and just life in general. However, today I pulled out the old crackle kit and got to work.

The first steelbook I worked on today was one of the top three I wanted to do when I first started exploring the whole crackle thing.

VICTIM #1: PAN'S LABYRINTH (DE - GERMANY'S 1ST BLU-RAY STEELBOOK EVER):

Before Pics:
egu9ygaq.jpg


gu3unyhu.jpg


ehy3upeh.jpg


egypuquz.jpg


uquqeve5.jpg


qu9a8a7u.jpg


tugymy6e.jpg

After Pics:
4y9usu7e.jpg


vahy5yda.jpg


esyqu2y4.jpg


sujy5e9y.jpg


aqe7a5uq.jpg


pe5e8e9e.jpg


yvyqaqy2.jpg

The Second steelbook I decided to use I picked for the same reasons I picked Pan's. Steelbooks that tend to look the best crackled (in my opinion) are ones that are very bright and vibrant in color and have a bit of a metallic look to them.

VICTIM #2: THE LAST AIRBENDER (DE):

Before Pics:
u6a6a3an.jpg


2uta5a2u.jpg


uravuze8.jpg


6ena8ymy.jpg

After Pics:
vanymavu.jpg


y6e9upuj.jpg


a9aqasut.jpg


my8a4yha.jpg


pegarupe.jpg


erapu3yg.jpg

Here's a little preview of the next one I'm working on. This one was also one of my top 3 that I wanted to do. However, this one will not be entirely crackled (as you'll see in the picture)...
9a9a9apy.jpg


I've decided that with this one, I'd tape off the arc and put a really thick layer of gloss on it. After that dries, I'll be crackling the rest of the cover. Haven't decided whether I'll crackle or gloss the back cover...Any thoughts???
 
You should gloss!

That's what I was thinking. I was also considering glossing just iron man and crackling the background. Would REALLY make iron man stand out. But I may just gloss the entire back cover seeing as taping him off (correctly) would be VERY tedious and VERY time consuming. I'll post pictures when I'm done. Hoping to finish it today...
 
custom flecking on steel needs more coats to smooth the flakes but was so impressed that i had to show , ( showed mrs but she was wtaching revenge )


Hell of a Job, buddy! Was hoping you would fleck this one! Came out even BETTER than I had imagined! Love the title!!!
 
Last edited by a moderator:
Hell of a Job, buddy! Was hoping you would fleck this one! Came out even BETTER than I had imagined! Love the title!!!

Cheers still bit rough as the lacquer has less thinners in it to accommodate the flake . But will still need a couple mor coats and then I'll get my ricster hat on and take some better pics . But I wasn't gonna show add nothing but I thought it looked cool and as you know camera s don't usually do it justice . And with neils slip this could possibly be my new favourite steel
 
  • Like
Reactions: mlmaier84
Cheers still bit rough as the lacquer has less thinners in it to accommodate the flake . But will still need a couple mor coats and then I'll get my ricster hat on and take some better pics . But I wasn't gonna show add nothing but I thought it looked cool and as you know camera s don't usually do it justice . And with neils slip this could possibly be my new favourite steel

I missed out on Mermaid and would be honored to own one of these. Neil is working on the slips for my buddy and mine's crackled exclusive. If you're interested, maybe a trade would be in order? Either way, would LOVE to own one of these!!!
 
  • Like
Reactions: zesty
Here's what you've been waiting for: How to spot gloss a Steelbook.

I will be continuing with the same Steelbook from my previous post with part of the title already glossed.

Untitled39_zps6dd9ae92.jpg

Supplies: Large paper bag, Sharpie marker, X-Acto knife, old no longer needed plastic card, cutting board, clear packing tape, matte Steelbook, gloss spray.

IMG_9031_zps3c79d47f.jpg

This is the gloss spray I used.

Step 1 (optional):
IMG_8996_zps355b04c4.jpg

Remove the panel of the Steelbook by inserting the card between the metal and plastic.

IMG_8997_zpse962bf6a.jpg

Pop the steel off and you will have a single panel like this.

Step 2:
IMG_8999_zps3772e8c5.jpg

Tape over the area that you want to gloss. In my case I decided to gloss Daredevil as well as the title, so I taped the entire Steelbook. Don't tape over the edges so the tape is easier to remove.

Step 3:
IMG_9000_zpsd3237296.jpg

Trace the area you want to gloss using the Sharpie marker.

Step 4:
IMG_9002_zpsa78c7833.jpg

Transfer the tape to the cutting board and cut out the traced area with the X-Acto knife.

Step 5:
IMG_9003_zpsff86f65e.jpg

Transfer the tape, excluding the cutout, back to the Steelbook. You can do this as a single piece or cut it into smaller sections.

Step 6:
IMG_9011_zpsf0dbebe9.jpg

Spray the gloss according to the product directions. I sprayed 2 thin coats.

Step 7:
IMG_9017_zpsb2b5ef3a.jpg

After drying according to product directions, remove the tape

IMG_9019_zpsf8668854.jpg


IMG_9020_zps61cf9d91.jpg


Added another coat of gloss to the comic strip on the back.
IMG_9023_zpsf0e64764.jpg


IMG_9025_zps8f75adc6.jpg


I should probably gloss the spine too.
IMG_9028_zpsa1eb60fc.jpg


Next project: refinish the table:p